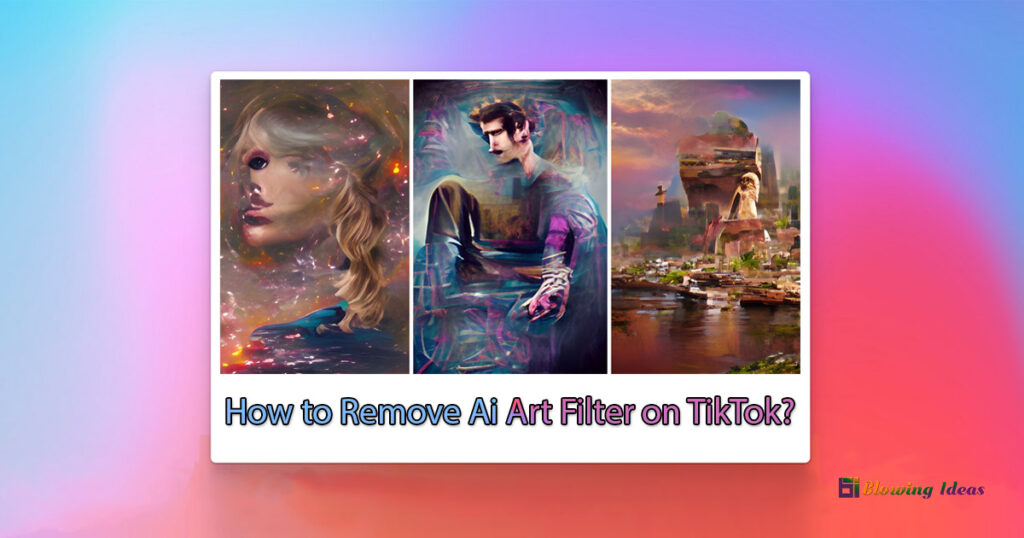
How to Remove Ai Art Filter on TikTok? TikTok is a popular social media platform that offers a wide range of filters and effects for users to enhance their videos. One popular feature is the AI art filter, which can turn a video into a work of digital art. While the AI art filter can be fun and visually stunning, some users may want to remove the filter to reveal the original video. In this article, we’ll explore how to remove the AI art filter on TikTok and restore your video to its original state.
TikTok created the AI Art filter. One of the most popular filters, it has over 12.6 million videos. One of the most popular videos features a female experimenting with the filter on a photo of herself and her boyfriend.
Nevertheless, the filter failed and they were converted into malformed individuals. The video received more than 1.8 million likes and 11 million views. This post will teach you how to use, reverse, and remove the AI Art filter on TikTok.
How to Remove Ai Art Filter on TikTok?
To delete the AI Art filter from TikTok, first, locate and select the filter. The filter’s icon is a box with an arrow going upwards. After you’ve chosen a filter, choose a photo from your gallery.
To turn the photo into art, click the “Create” button. To reveal the original photo, tap on the screen to reverse/remove the AI art filter.
The entire process is as follows:
- Open TikTok and press the “+” button.
- Search for “AI Art” under the “Effects” section.
- Choose the filter with the box and the arrow pointing up.
- Choose a picture from your gallery.
- To turn the photo into art, click the “Create” button.
- To reveal the original photo, tap on the screen to reverse/remove the AI art filter.
Please keep in mind that you can currently only remove the AI Art filter from your own video.
Because the filter is embedded, you cannot remove it from other people’s movies.
How to use the AI Art filter on TikTok?
To utilise the AI Art filter on TikTok, you must first locate and select it. The filter’s icon is a box with an arrow going upwards. After you’ve chosen a filter, choose a photo from your gallery. Finally, click the “Create” button to transform the snapshot into art.
The entire process is as follows:
- Open TikTok and press the “+” button.
- Search for “AI Art” under the “Effects” section.
- Choose the filter with the box and the arrow pointing up.
- Choose a picture from your gallery.
- To turn the photo into art, click the “Create” button.
If you can’t find the filter in the effects menu, try searching for it using the search icon.
To do so, navigate to your FYP and press the search icon. Search for “AI Art” and use the filter to find a video. Finally, tap on the “AI Art” filter, then “Use this effect” to activate it. You can also save the filter to your favourites by clicking “Add to favourites” and returning to it later.
Conclusion
In conclusion, removing the AI art filter from a TikTok video is a simple process that can be done within the app. While the AI art filter can be visually appealing, it’s understandable that some users may want to remove it to reveal the original video. By following the steps outlined in this article, you can easily remove the AI art filter and restore your video to its original state.
It’s important to note that TikTok is constantly updating its features and interface, so the exact steps to remove the AI art filter may vary slightly over time. However, the general process should remain the same. So, go ahead and give it a try – and remember, have fun with your videos on TikTok!